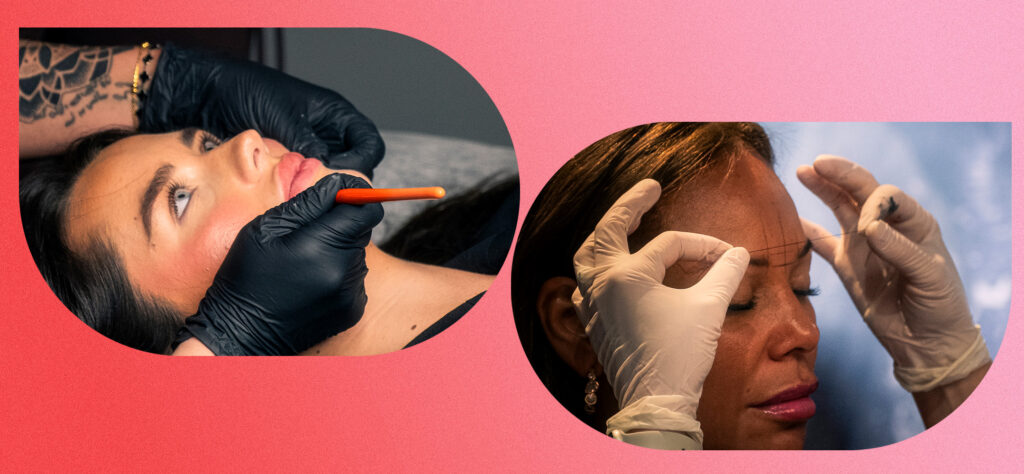
PMU Mapping: Why Most Symmetry Complaints Start Before the Needle Touches Skin
Ask a room full of PMU artists which part of the treatment they'd most like to feel confident about, and mapping comes up again and again. It's the stage where the clock feels loudest, the client is watching every mark you make, and one line a millimetre out sets the tone for everything that follows. Here's the thing worth sitting with: when a client isn't quite happy with their healed result, the cause usually isn't the pigment, the machine or the technique. It's the map. The pre-draw is the framework for the entire treatment, and beautiful implantation won't rescue a shape that wasn't right to begin with. The good news is that mapping rewards patience and repetition more than natural talent, which means every artist reading this can get better at it, starting with the next client in the chair.
What Is Mapping and Pre-Draw in PMU?
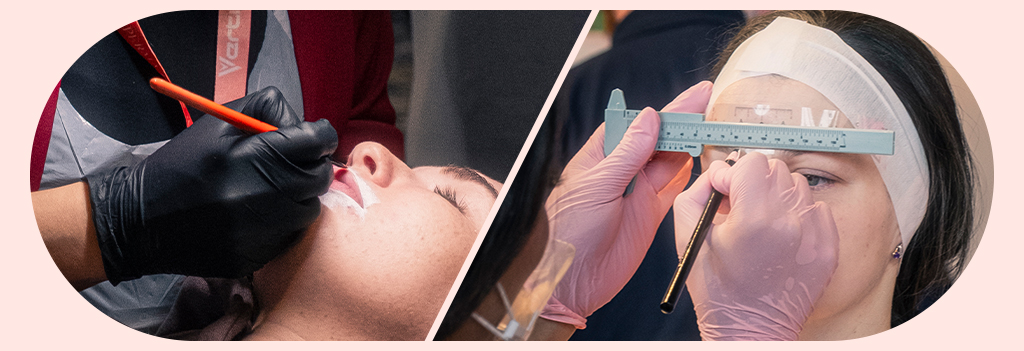
Mapping is the process of measuring a client's features to establish balanced guidelines, and the pre-draw is the shape you sketch within those guidelines before any pigment is applied. Together they form the framework the entire treatment follows - for brow mapping, lip mapping and eyeliner alike.
That makes the pre-draw far more than a warm-up. It's quietly doing three jobs at once, and they're all worth naming.
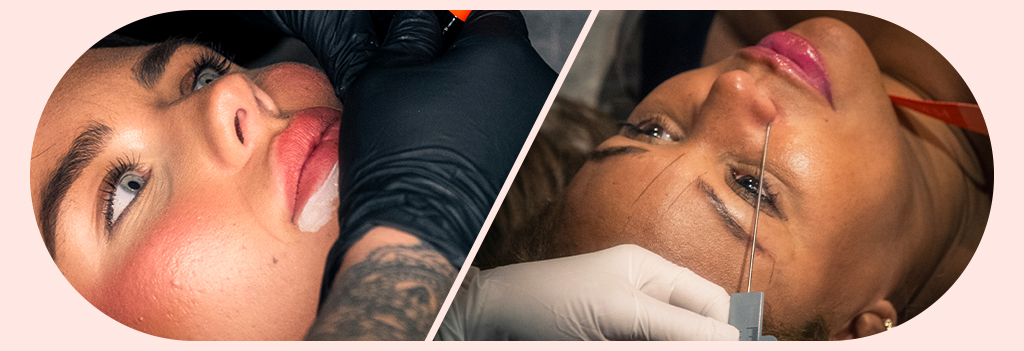
What Your Pre-Draw Is Actually For
- It’s your design decision. Once you pick up the machine, you're committing. The pre-draw is the last moment where changing your mind costs you nothing but a wipe and a fresh start, so use that freedom while you have it.
- It’s your client's yes. The pre-draw is what they're agreeing to, and that moment deserves a bit of ceremony. Sit them up, hand them the mirror, and give them time to really look. A client who's properly seen their shape walks into the treatment excited rather than hopeful - and that changes the whole appointment.
- It’s your reference for everything that follows. Under a machine, with the skin stretched and the light bouncing, your outline is the only fixed point you have. If it's smudged or half-gone by the twenty-minute mark, you're working from memory.
How to Practise Brow Mapping and Lip Pre-Draw
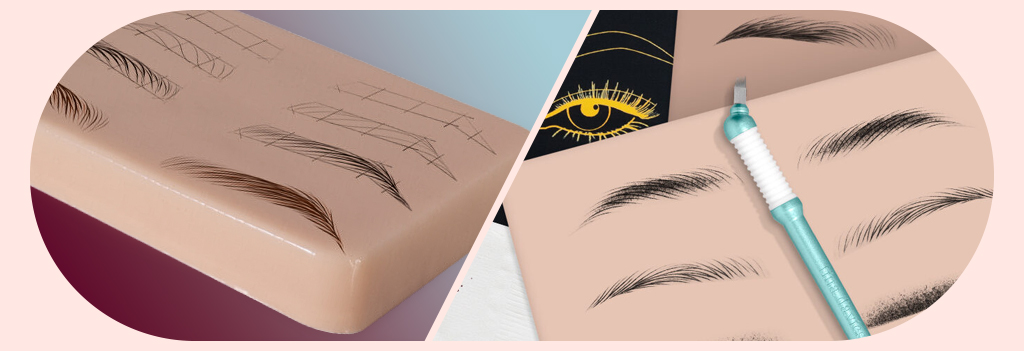
Practice skins are brilliant for needle depth and pigment behaviour. They're far less useful for mapping, because a flat sheet doesn't have a brow bone, a slightly higher eye, or a habit of talking while you work. Live models are where mapping really gets learned.
So slow things down on purpose:
- Give it more time than feels necessary. If your pre-draw currently takes fifteen minutes, try twenty-five and see what you notice — you'll be surprised how much shows up.
- Check from eye level. Standing over a reclined client distorts everything. Sit them up and step back.
- Photograph it, then view the image flipped. Your brain quietly corrects for faces it's been staring at, and a mirrored view resets that beautifully.
Most importantly, welcome the faces that don't follow a formula - because in reality, very few of them do. Natural asymmetry, brows that have thinned or changed over the years, skin that carries a story, a cupid's bow that sits a little differently on each side. This is what most faces actually look like, and every one of them will teach you something a textbook shape never could.
Which brings us to the point worth holding onto: every face is asymmetrical. One eye usually sits slightly higher, one side of the mouth lifts more, the brow bones rarely match. That's not something to correct - it's what makes a face look like a person rather than a template. Chasing a perfect mirror image can actually produce a result that looks off, because it works against the features it's sitting on. What you're really aiming for is balance: a shape that reads as even at conversational distance and moves naturally when your client smiles.
When to Invest in Further PMU Mapping Training
If you've been practising consistently and mapping still feels like the shakiest part of your day, that's not a reflection of your ability - it usually just means you've hit the ceiling of what self-teaching can offer.
Further training isn't only for beginners, either. Plenty of experienced artists book mapping-focused sessions: online for something you can revisit whenever you need it, or in-person so an educator can watch your hands and correct you as you go.
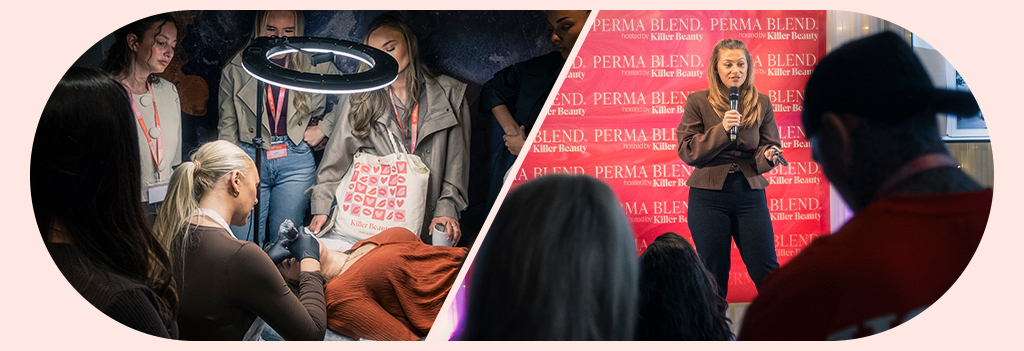
Conferences are the underrated option. Watching an artist map in real time is different from a polished tutorial - you see the hesitations, the corrections, and the reasoning shared out loud. You're also surrounded by artists working through exactly the same things you are.
In the UK or Ireland? The Queen's Night UK & Ireland 2026 lands in Coventry on 11th–12th September with live demos and hands-on masterclasses, and we're proud to be sponsoring it.
The Best Mapping and Pre-Draw Tools for PMU Artists
No tool will map a face for you. But the right kit quietly removes the small frustrations that make mapping harder than it needs to be - the pencil that won't hold a point, the outline that's vanished before you've finished the first brow. Little things, until you're twenty minutes into an appointment.
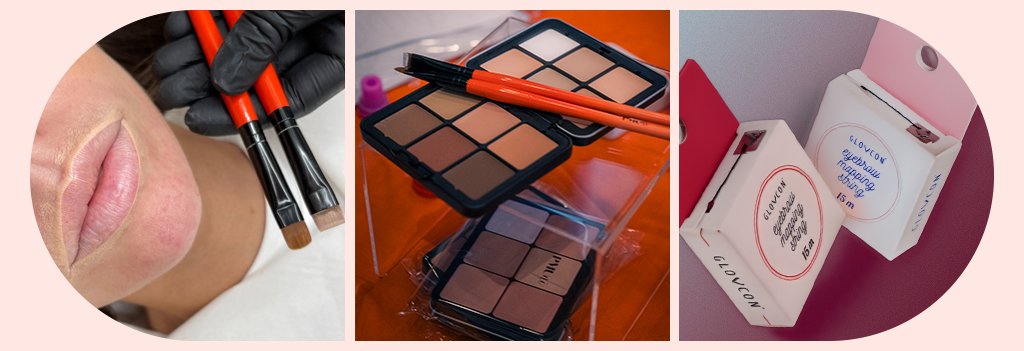
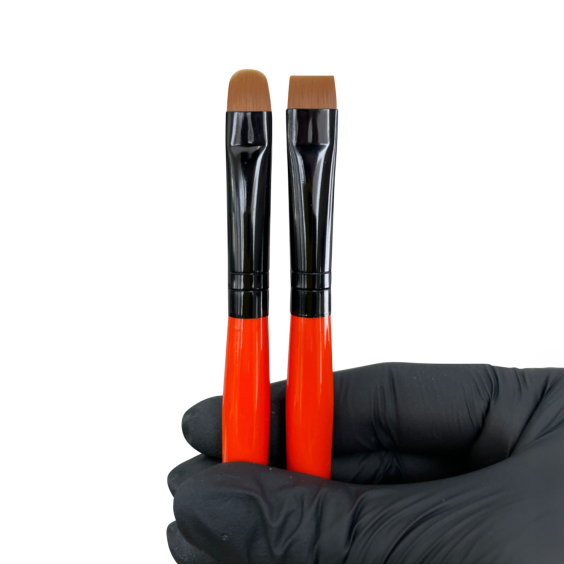
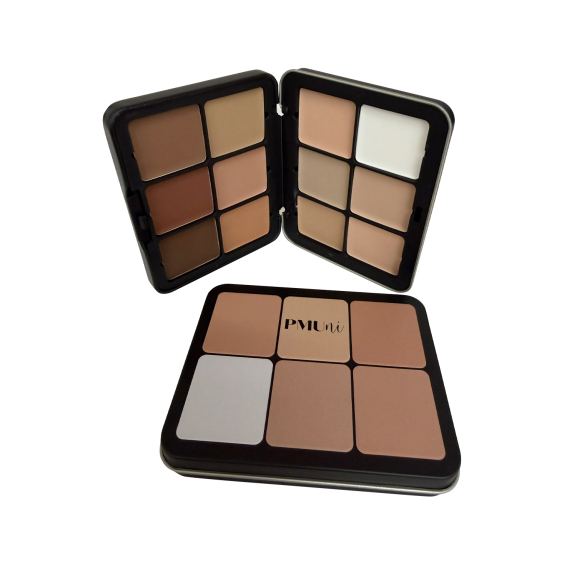
The PMUni Carve Pre Draw Brushes are a firm favourite, giving you a precise edge for defining outlines and a softer shape for blending in one set. Pair them with the PMUni 12 Shade Cream Concealer Palette to match your client properly and show them a realistic preview of the finished shape. It makes that sign-off conversation so much easier when they can actually see it.
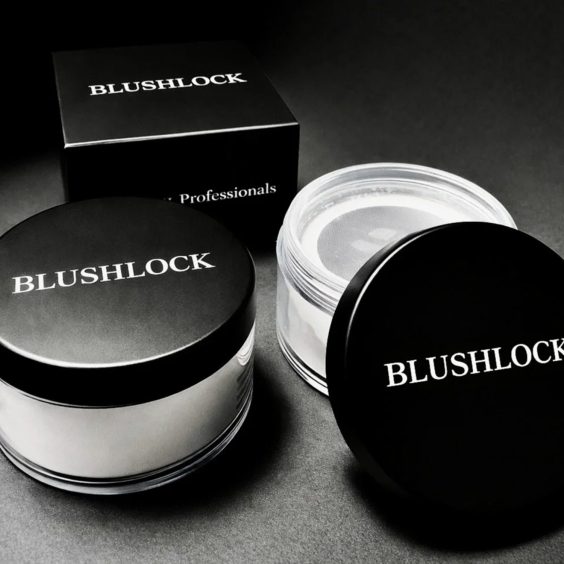
Lip mapping brings its own challenge, because lips move constantly and an outline drawn at rest shifts the moment your client speaks. Blushlock® Translucent Fixing Powder is a genuine first here: a powder created specifically for PMU pre-draw. If you've ever watched a beautiful lip outline break down as soon as you start working, you’ll appreciate this one - it locks your pre-draw in place so your reference stays exactly where you put it.
Beyond that, our mapping range covers the essentials:
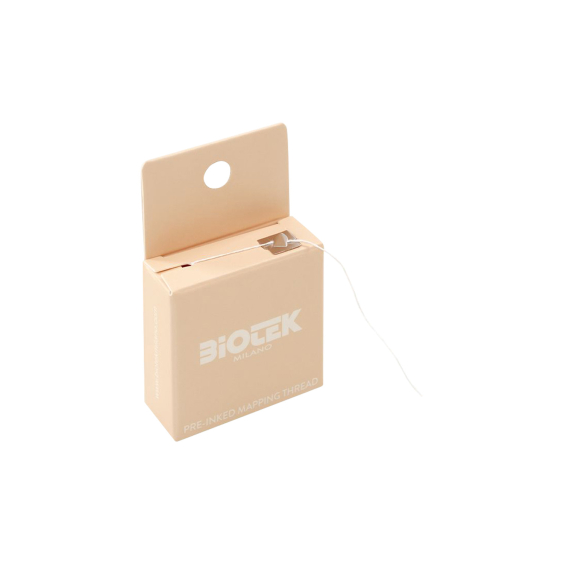
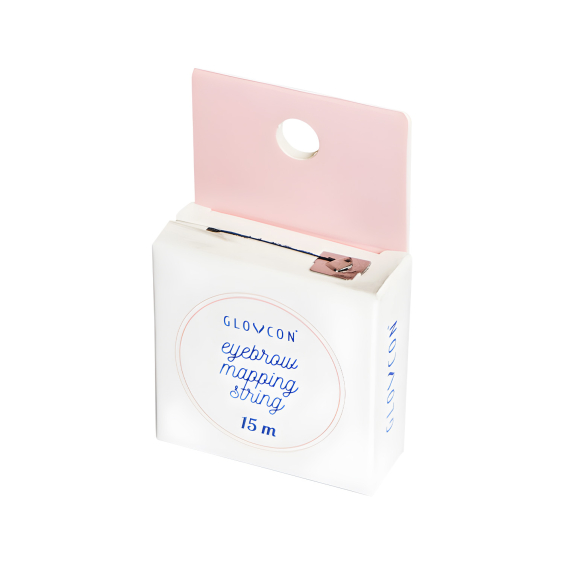
- Glovcon mapping string and Biotek Pre-Inked Mapping Thread for your guidelines.
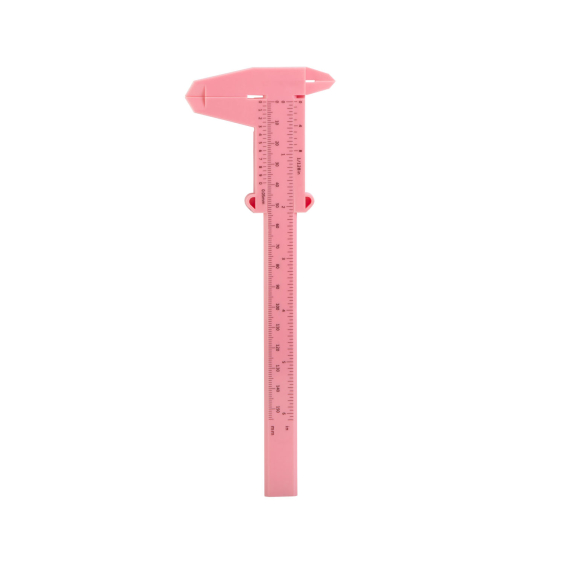
- Callipers for checking measurements actually match.
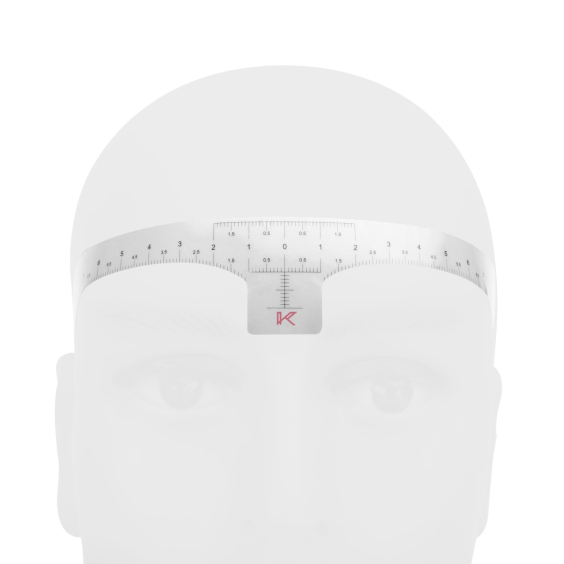
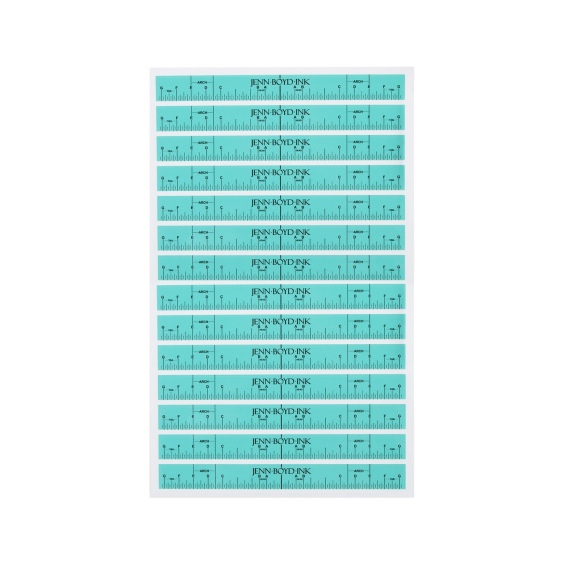
- Transparent Killer Beauty Eyebrow Rulers and Jenn Boyd Ink Brow Rulers.
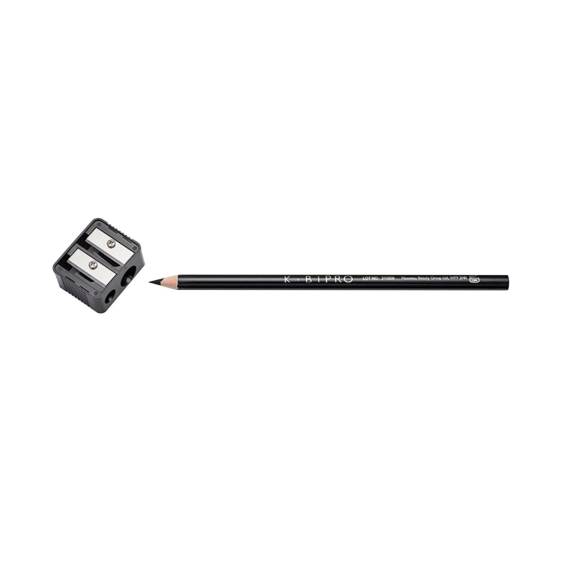
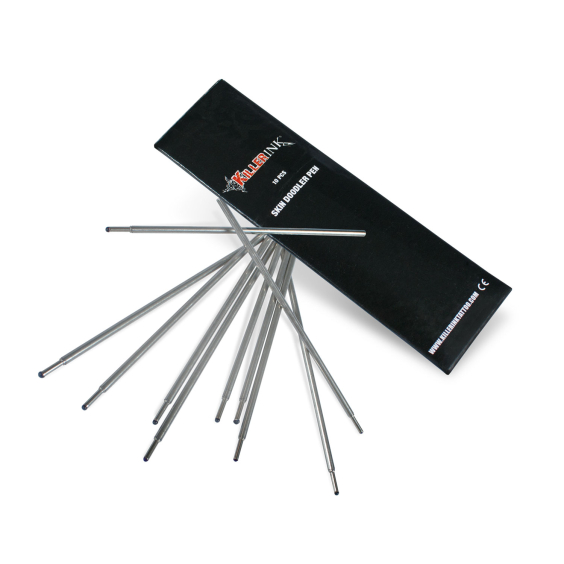
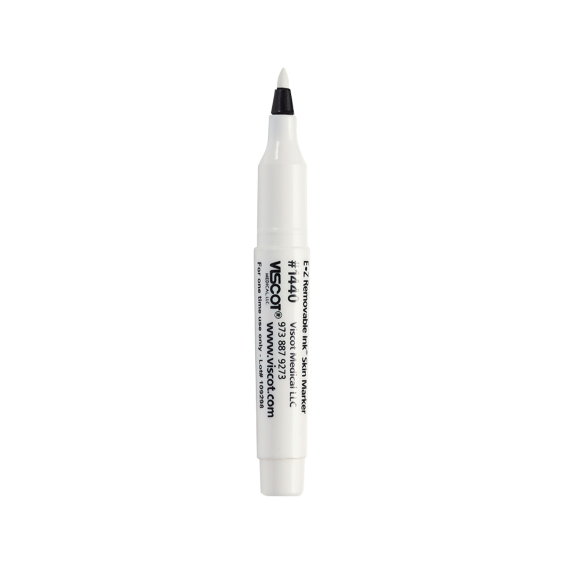
- A full range of pencils and markers.
Free Lip and Brow Mapping Guides
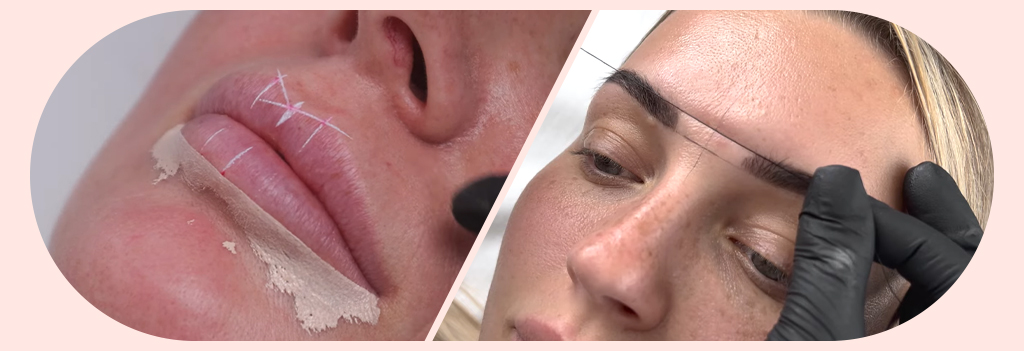
Supporting artists at every stage means making education accessible, so we've popped step-by-step mapping guides on our YouTube channel - free, whenever you need them.
Lip mapping and pre-draw guide:
Step by step brow mapping and stencil guide with Sarah from Blush & Blade:
Save them, come back to them, and work through them alongside a model. There's no expiry date on refreshing your fundamentals, and no stage of your career where it stops being useful.
Get the Framework Right and the Rest Follows
Mapping is the least glamorous part of a PMU treatment and the part that determines almost everything about the result. Give it the time it deserves, welcome every face that comes your way, and invest in tools that work with you rather than against you.
Do that, and the machine work becomes the easy bit - you'll pick it up already knowing the shape is right, and that confidence shows in everything that follows.
Not sure which PMU mapping tools suit the way you work? Get in touch – we’d love to help you find your perfect setup.

Frequently Asked Questions
Why does the pre-draw affect symmetry more than the application itself? Your pre-draw is the reference you follow throughout the treatment. If the shape isn't balanced before you start, implanting the pigment simply follows it - precise technique on an unbalanced map still gives an unbalanced result.
Should brows be perfectly symmetrical? No. Every face is naturally asymmetrical, and mirroring one side exactly can look unnatural because it works against the client's bone structure. The goal is balance rather than a perfect mirror image.
How long should mapping take? There's no fixed number, but rushing is the most common habit worth breaking. If you're consistently finishing in under fifteen minutes, it's worth slowing down and seeing what you spot.
How can I improve my mapping without more clients? Photograph your pre-draws and review them flipped, practise on friends and family with varied features, and watch live demos or step-by-step guides to compare your approach against other artists'.
Do I need special products for lip pre-draw? Lips move constantly, so a pre-draw that stays put makes a real difference. A fixing powder designed for PMU pre-draw, like Blushlock, keeps your outline intact through the treatment.
Is lip mapping different from brow mapping? The principle is the same - establish balanced guidelines, then sketch the shape before applying pigment - but lip mapping has to account for movement. Check your pre-draw with the mouth at rest and while your client is talking or smiling, and use a product that holds the outline in place.
Related Guides